
Sport Court Resurfacing: What Happens During A Professional Project
Quick Summary
Professional court resurfacing involves inspection, pressure washing, crack repair, leveling, acrylic resurfacing, color coating, line striping, and curing time, with each step designed to restore playability and extend the surface’s life. Skipping or rushing any step, such as crack repair or curing, significantly reduces the durability of the finished court. Timelines depend on court size, condition, and weather, but a properly executed project restores consistent bounce, texture, and appearance while protecting against South Florida’s sun and rain. Professional systems consistently outperform DIY resurfacing kits in both longevity and overall playing quality.
Understanding professional court resurfacing helps property owners know what to expect when their tennis, basketball, pickleball, or shuffleboard court needs a refresh. Resurfacing is more involved than simply applying a new coat of paint. It is a multi-step process designed to repair underlying damage, restore proper drainage and texture, and extend the usable life of the court for years.
Armor Courts has guided countless residential and commercial clients through this process throughout South Florida, and we find that clients who understand each step feel more confident in the investment they are making.
This article walks through what actually happens during a professional court construction and resurfacing project, from the initial inspection to the final coat.
Step 1: Initial Inspection and Assessment
Every resurfacing project begins with a thorough inspection of the existing surface. Our team evaluates the extent of cracking, fading, surface texture loss, and any drainage issues. This step determines whether resurfacing alone will solve the problem or whether underlying structural repairs are needed first.
Courts with significant base movement or extensive cracking may require additional court repairs before resurfacing can proceed successfully.
Step 2: Cleaning the Surface
Before any repair work begins, the entire court is pressure washed to remove dirt, algae, debris, and loose material. Florida’s humidity and frequent rain make algae and mildew common on outdoor courts, and a clean surface is necessary for proper adhesion of repair materials and coatings applied later in the process.
Step 3: Crack and Surface Repair
Cracks are addressed using appropriate filler materials designed to flex with temperature changes and prevent the crack from reappearing through the new surface.
Larger structural issues, such as birdbaths or areas of standing water, may require patching or leveling compounds to restore a consistent, properly sloped surface.
This step is one of the most important parts of the entire process, since new coatings applied over unrepaired damage will simply crack again within a short period.
Step 4: Patching and Leveling
For courts with more significant unevenness, a leveling course is applied to restore a smooth, consistent playing surface. This is particularly important for tennis and pickleball courts, where ball bounce consistency directly affects play quality, and for basketball courts, where an uneven surface can create tripping hazards.
Step 5: Applying Acrylic Resurfacer
Once repairs are complete and the surface is properly prepared, an acrylic resurfacing material is applied. This layer restores texture and provides a uniform base for the color coating that follows. The number of coats applied depends on the condition of the original surface and the specific product system being used.
Step 6: Color Coating
Color coats are applied next, giving the court its finished appearance while adding another layer of protection against UV exposure and wear. Most professional systems apply multiple color coats to achieve even coverage and long-lasting color retention, which matters significantly in South Florida’s intense sun.
Step 7: Line Striping
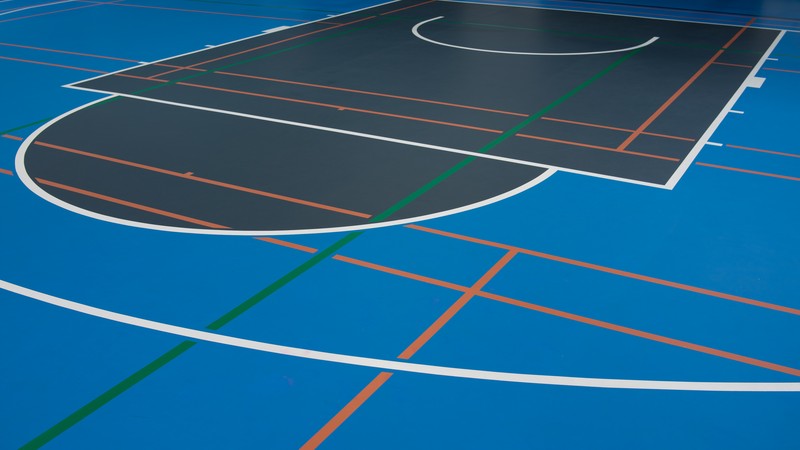
Accurate striping is applied last, following precise measurements for the sport in question, whether that is a tennis court, basketball court, pickleball court, or shuffleboard court. Clean, accurate lines are key to organized play and give the finished court a professional appearance.
Step 8: Curing Time
After the final coat and striping are complete, the surface needs adequate time to cure before it is opened for play. Curing times vary based on weather conditions, humidity, and the specific coating system used, and rushing this step can compromise the durability of the finished surface.
How Long Does a Typical Resurfacing Project Take?
Timelines vary depending on court size, the extent of repairs needed, and weather conditions. A straightforward resurfacing project with minimal repairs can often be completed within a few days, while projects requiring extensive crack repair or leveling take longer.
Our team works efficiently without sacrificing quality, which matters for commercial facilities that need to minimize downtime.
Why Professional Resurfacing Outperforms DIY Approaches
Some property owners consider DIY resurfacing kits to save money, but these products rarely match the durability of professionally applied systems. Proper crack repair techniques, correct acrylic mixing ratios, and appropriate curing conditions require experience that is difficult to replicate without professional training and equipment.
A poorly executed DIY resurfacing project often fails within a year or two, while a professionally resurfaced court, such as those completed through our tennis court resurfacing and basketball court resurfacing services, is designed to perform reliably for many years.
What to Expect From Armor Courts
As a family-owned business with over fifteen years of combined experience, Armor Courts approaches every resurfacing project with the same attention to detail, regardless of court size or type. We back our work with a three-year guarantee on paint and a one-year guarantee on workmanship, giving clients confidence that their investment is protected.
You can browse examples of past work in our completed projects gallery to see the transformation a professional resurfacing project can achieve.
If your court is showing signs of fading, cracking, or reduced playability, understanding this process can help you feel prepared for what a resurfacing project involves and why each step matters to the final result.
To learn more about scheduling a professional resurfacing project for your property, request a free quote from our team today.
Frequently Asked Questions
How often should a sport court be resurfaced?
Most outdoor courts benefit from resurfacing every four to eight years, depending on climate exposure, usage levels, and the quality of the original installation.
Can resurfacing fix a court with major cracks?
Yes, in most cases, though extensive structural cracking may require additional repair work before resurfacing can proceed successfully.
How long does a court need to cure before it can be used?
Curing times vary by product and weather conditions, but courts generally need to remain closed for a set period after the final coat so the coating can harden properly.
Is resurfacing cheaper than building a new court?
Yes, resurfacing an existing court is typically significantly more affordable than a full rebuild, provided the base and structure remain sound.
What sports can benefit from professional resurfacing?
Tennis, basketball, pickleball, and shuffleboard courts all benefit from professional resurfacing, since each requires precise texture and striping for proper play.